Oops I did it again…
This week on one of my favourite courses, A Day at Hen Corner, I made a classic ‘schoolgirl error’. Well, that might not be the best way of describing it as we didn’t make jam at school – probably too much risk letting teenagers boil sugar to very high temperatures. However, it was a mistake that I’ve made on more than one occasion before.
Let’s make a double batch of jam, the pan is big – let’s fill it up!
Already, I know that some of you readers can anticipate the outcome…
Yes, sticky red goo overflowing down the sides of the pan like some crazy professor science experiment, followed by the sweet smell of caramel as the spilt jam starts to burn before the acrid smoke of carbonising sugar.
Yes, I’ve made that mistake before. I think I need to print a sticker for my preserving pan saying ‘1kg sugar per batch’. Unlike chutneys that can start with a high volume and slowly reduce down as it cooks and thickens, jams and jellies need lots of space in the pan to allow them to boil high with foam, doubling, if not trebling in size as the sugary juices boil to the perfect set.
We need to get this right, if we under-boil then we get a lovely sugar syrup similar to a cordial, if we over-boil we get toffee! We want a jam that’s firm enough to sit proud on a scone, a jelly that wobbles. Over the years I found three ways to check that jams and jellies are boiled to setting point and I often do all three tests to save me the frustration of discovering that, after it’s been safely packed in jars and cooled overnight, I find that it’s still liquid and needs re-boiling to get to setting point.
Testing for the perfect set:
- Wobble Allow the jam to boil at a high foam for 15 minutes, stir gently and see if the drips on your spoon wobble when you gently shake it
- Wrinkle While making jams and jellies, keep a dry clean saucer in the freezer. To check whether setting point is reached, drop some jam on the cold saucer and push it gently with your finger, if wrinkles appear on the surface of the jam it’s ready
- Watch Using a digital thermometer, watch for the jam to reach 105c, I’ve never had much success with the jam/sugar/preserving thermometers as they get sticky and are hard to read, but a probe thermometer, ideally on a cable like this one, works a treat
Double batches definitely do not save time when it comes to jam making, I could easily have made two batches back to back (especially counting in the time it took to clear up) if I’d been a bit more patient, so it’s well worth taking a little time to make your harvest last a long time.
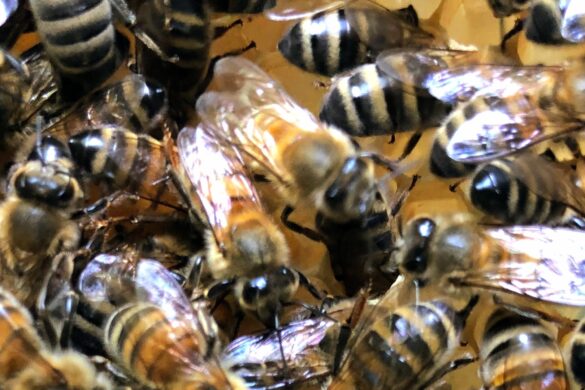
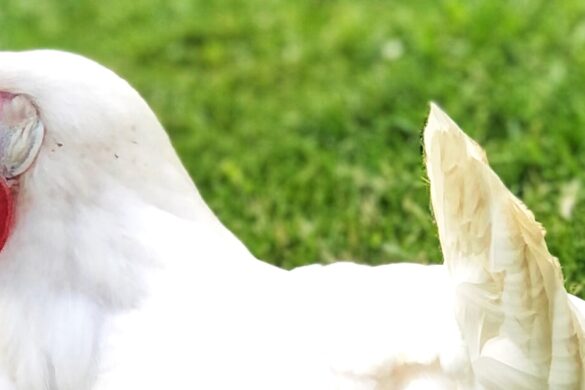
Our Day at Hen Corner included making bread, jam and a bit of bee keeping and chicken keeping – it really is ‘a day in the life of Hen Corner’, our next date is Thursday 29th August, we’ve still got spaces if you’d like to join us!
For a glimpse of each of these activities, the film below shows what happened when Mike’s Comedyy visited a couple of years ago:
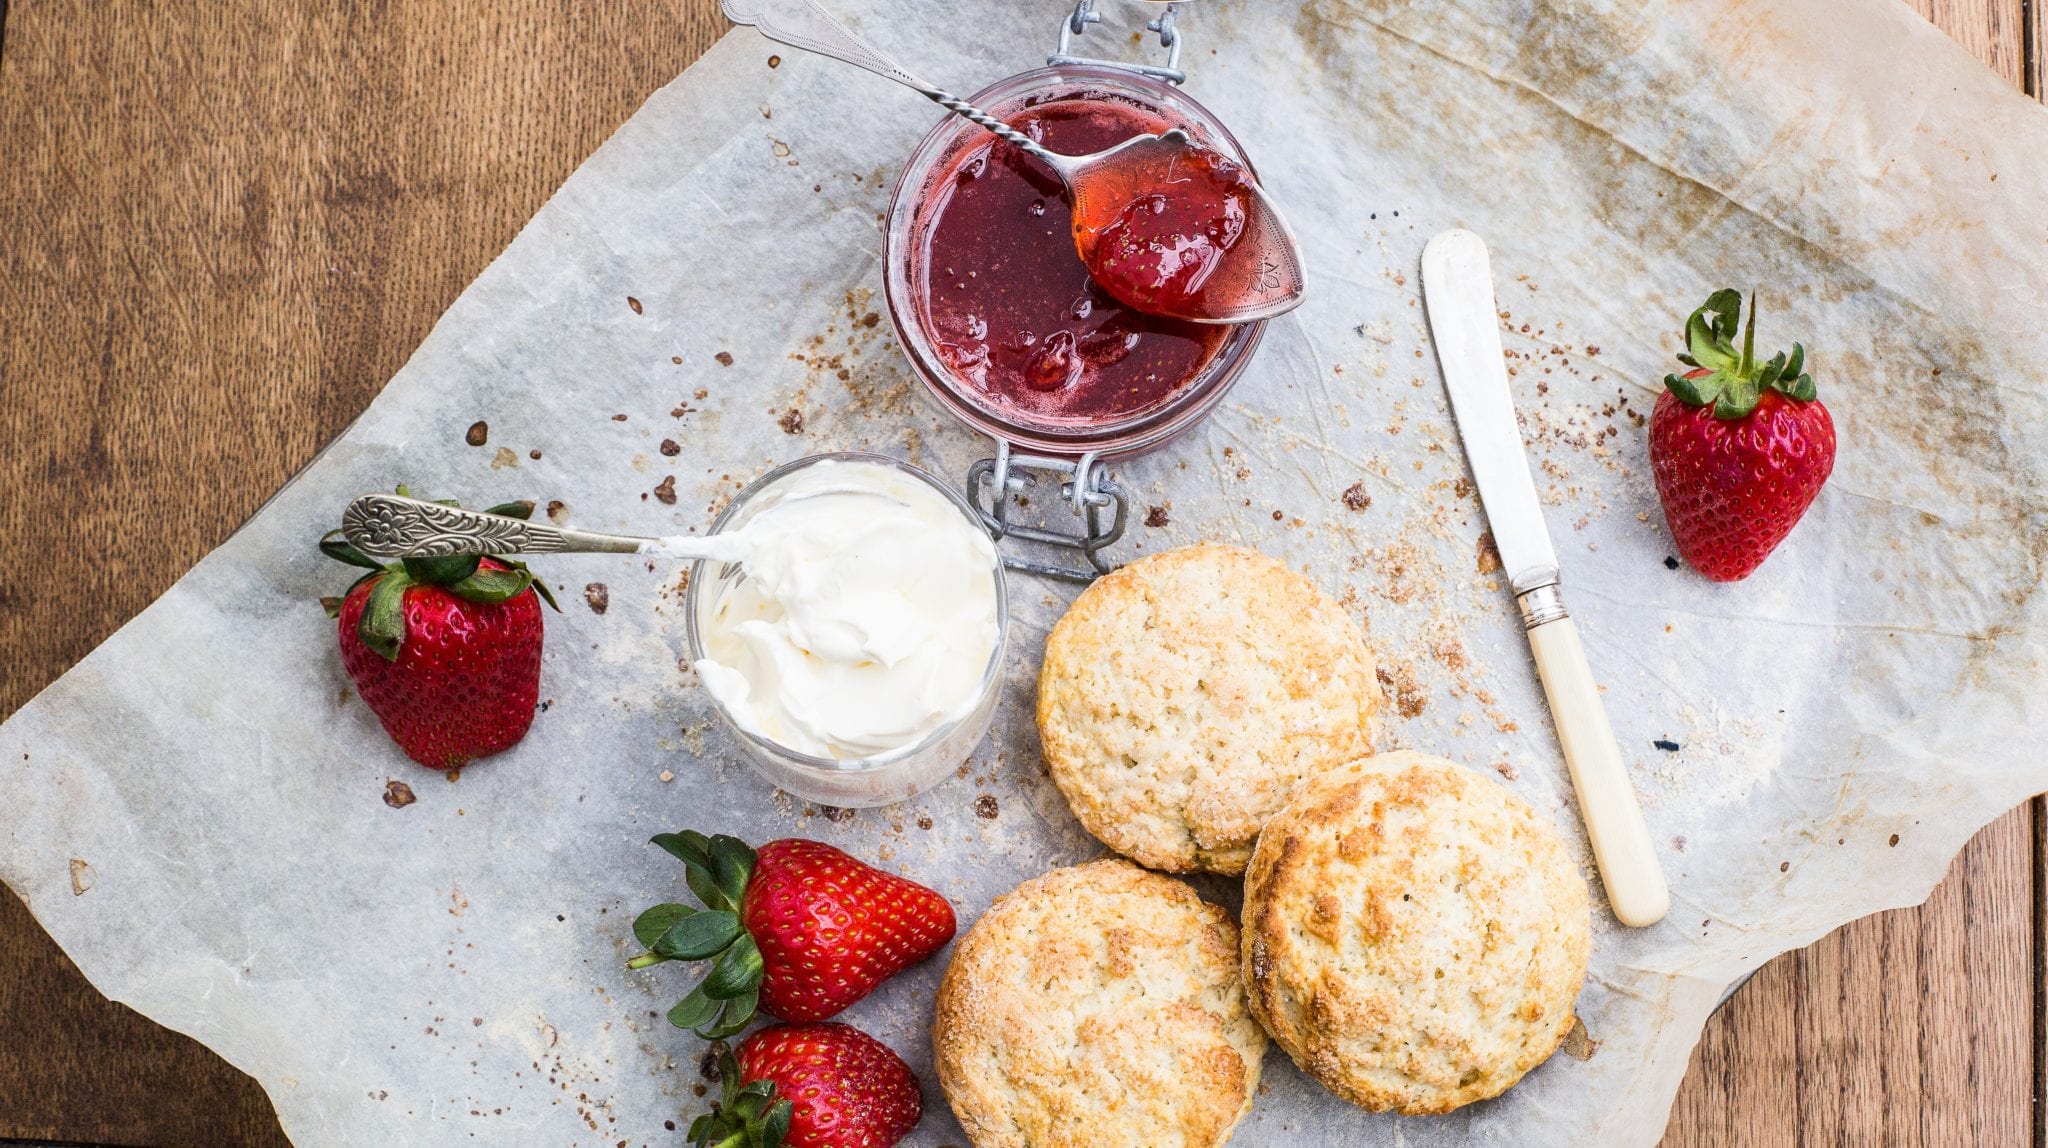
Strawberry Jam Recipe
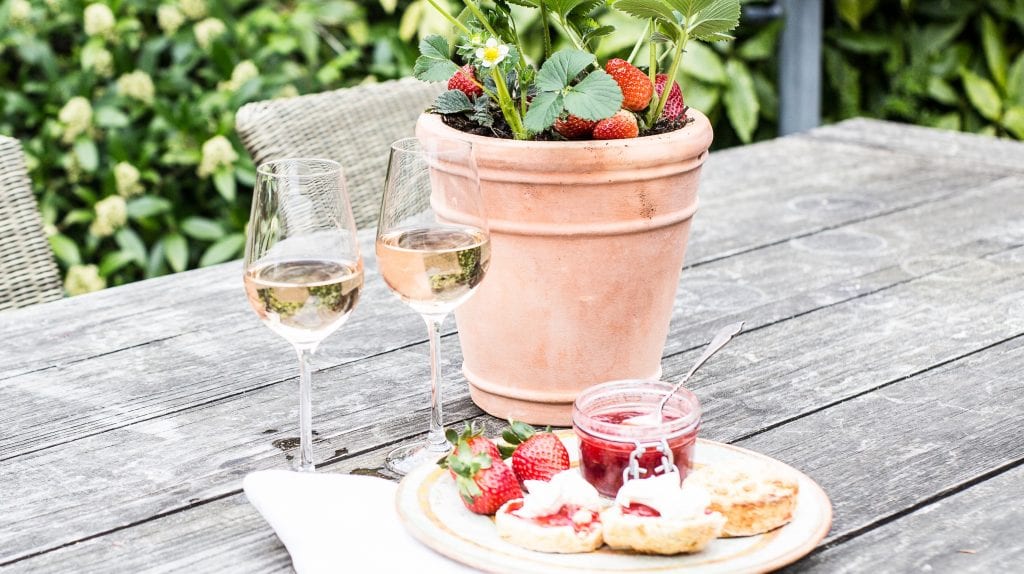
There’s not usually enough strawberries left for jam making as we can’t resist eating them fresh in desserts, on cakes or just in a bowl with cream. However, strawberry jam, with whole fruits, is really the nicest homemade jam you can make! If you can pick your own, from the garden or a local farm, then even better…
Ingredients:
1 kg strawberries
1 kg granulated sugar
2 lemons
Method:
- Remove the stalks from the strawberries and place the berries in a large preserving pan. Sprinkle on the sugar and the juice from the lemons, reserving the lemon skins, pips and flesh.
- Boil the reserved lemon pieces in enough water to cover them for 10 mins.
- Meanwhile, gently warm the strawberries, juice and sugar and bring to a simmer.
- Strain the lemon water through a sieve into the strawberries and press the pulp through with a wooden spoon – this is high in pectin to give the jam a good set.
- Bring the jam to a high foaming boil and bubble rapidly for 15 minutes until setting point is reached.
- Leave the jam to stand in the pan for 20 minutes to cool a little and allow the berries to settle; then pot in sterilised jars, seal and label. Makes 5 x 12oz jars
Other news:
- I enjoyed a fun evening with the West Ealing Women’s Institute – teaching them how to make bread ‘Generation Game’ style…
- Our chickens have been superstars, allowing all 330 pupils a stroke at the Countryside Learning schools day at Syon Park
- This summer’s season of courses are selling out fast
Jobs for the week:
- Write my next feature for Country Living Magazine – it’s preserving time!
- Put on my glad rags for a very special Garden Party raising money for Bees for Development
- Dare I say, start planning for Christmas events???? #Sorry
What’s your favourite taste of Summer?
Sara
Discover more from Hen Corner
Subscribe to get the latest posts sent to your email.

4 comments
Firstly, thanks for sharing that you aren’t perfect! 🙂 And secondly – love the three tips of checking if jam is at setting point. Very useful! Thank you!
Thanks Heike, I’m definitely NOT perfect, just try to encourage others with the successes I’ve had… 😉
There have been many sticky evenings re-boiling Jam & Marmalade that haven’t set, as well as jars of jelly that have been boiled too much and have set solid like a piece of Amber, completely unable to extract from the jar!
Really enjoyed that
Thanks. Do have a go at making jam yourself – especially if you find strawberries on offer!